You want to choose the right orchid, water it properly, and provide the perfect environment. Getting those basics right makes all the difference in your orchid’s health. But there’s more to successful orchid care than just these steps. Understanding how to pick the best potting mix, manage light and temperature, and handle fertilizing can transform your experience. Let’s explore what it takes to keep your orchid thriving with confidence.
Choosing the Right Orchid for Beginners
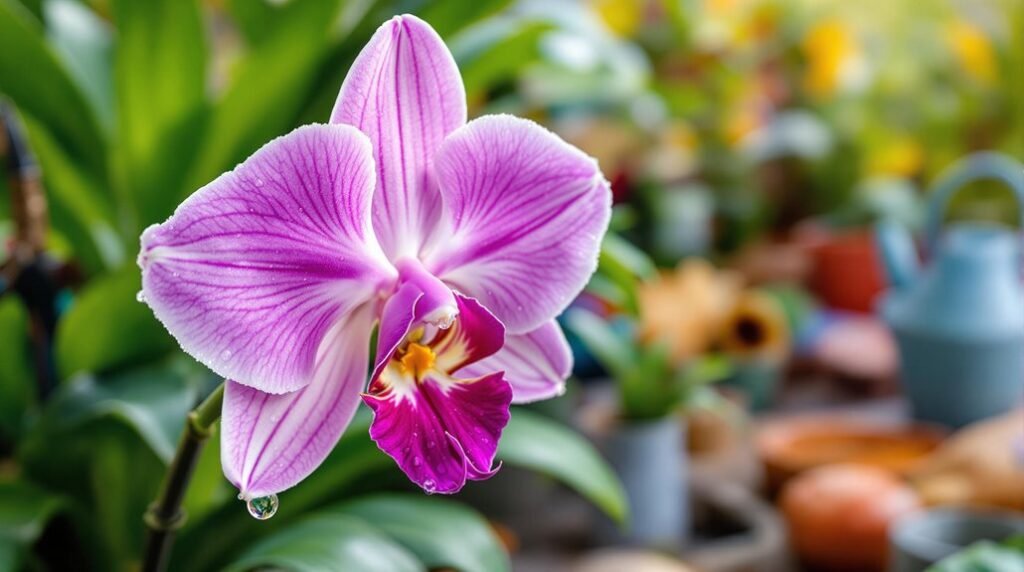
Wondering which orchid is best for beginners? Phalaenopsis orchids are a top choice in orchid care because they’re easy to grow, thrive in moderate light conditions, and boast vibrant flowers.
Phalaenopsis orchids are perfect for beginners—easy to grow, love moderate light, and feature stunning blooms.
As a beginner, starting with one orchid variety like Phalaenopsis helps you master care requirements without feeling overwhelmed. When selecting your plant, choose healthy plants with strong roots and firm, green leaves—avoid any with black or brown spots to guarantee your new orchid thrives.
Other beginner-friendly orchids include Oncidium and Cymbidium, both adaptable and suitable for indoor environments.
Focusing on these easy-to-grow varieties will build your confidence and set you up for success in maintaining healthy plants with beautiful blooms.
Selecting the Best Potting Mix and Pots
When you select the right potting mix and pots for your orchid, you set the foundation for healthy growth and vibrant blooms.
Choose a well-draining potting mix specifically designed for orchids, such as bark mixes combined with sphagnum moss or perlite, to guarantee proper air circulation around orchid roots.
Avoid standard potting soil, which holds too much moisture and can harm root growth.
Opt for orchid pots with ample drainage holes to prevent water accumulation. Clear pots are ideal since they let you monitor moisture levels and root health easily.
Remember to repot orchids every 1-3 years or whenever the potting mix breaks down to maintain fresh, aerated conditions that support thriving roots and prevent root rot. Additionally, consider using a fertilizer like Down to Earth Acid Mix to provide essential nutrients for acid-loving plants, including orchids, enhancing their growth and vibrancy.
Proper Watering Techniques for Orchids
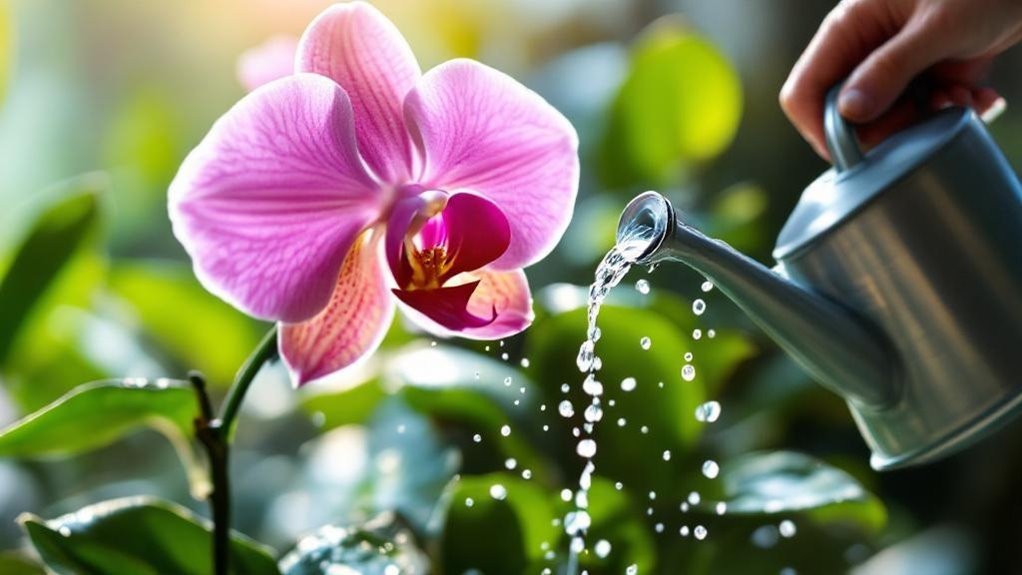
How often should you water your orchid to keep it healthy? Typically, watering once a week works well if the potting media feels slightly damp. Proper orchid care means balancing moisture without causing root rot.
Use these tips for your watering schedule:
- Submerge the pot in warm water for about 30 minutes to hydrate roots thoroughly.
- Always empty cache pots after watering to avoid standing water.
- Let the orchid mix dry out slightly between waterings to prevent over-watering.
- Maintain humidity around 50%, using trays or misting if needed.
- Monitor moisture levels regularly to adjust your watering as necessary.
Following these steps helps your orchids thrive by keeping their roots healthy and the potting environment ideal.
Light and Temperature Requirements
Two key factors play a crucial role in your orchid’s health: light and temperature.
Most orchids thrive in bright, indirect light, so place yours near east or west-facing windows to avoid harsh direct sunlight that can cause sunburn. Some varieties, like Cattleya, prefer even brighter conditions, while low light orchids need to be closer to light sources for peak blooming.
Temperature is equally important—Phalaenopsis orchids do well between 70-85°F during the day and 60-70°F at nighttime. A nighttime temperature drop of about 10°F encourages flower spike development.
Keep temperature conditions stable and make sure your orchids experience full darkness at night, as fluctuations or light disruptions can stress the plants and hinder blooming.
Maintaining these conditions promotes healthy growth and vibrant flower spikes.
Fertilizing Your Orchid Effectively
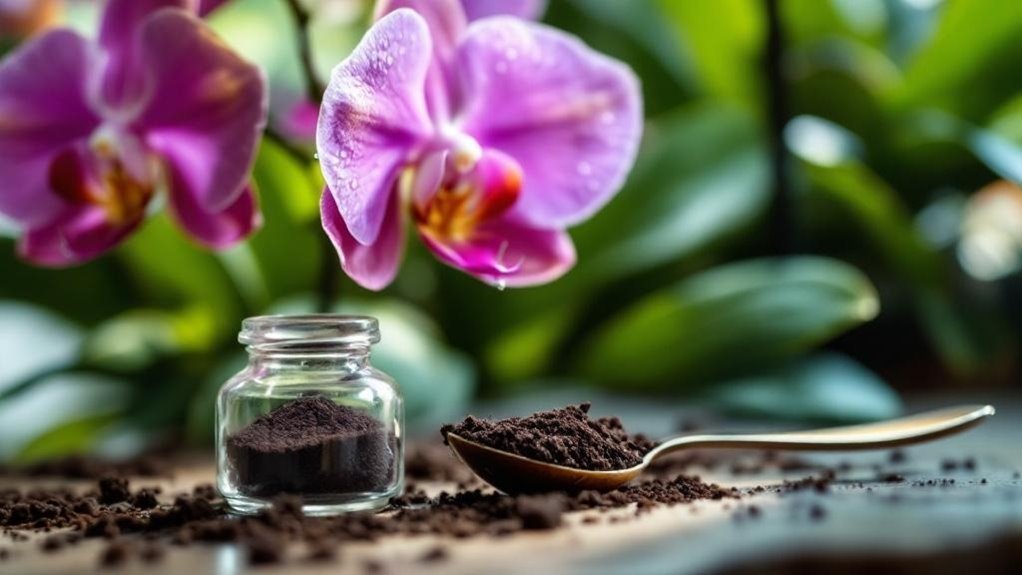
Providing the right light and temperature sets the stage for your orchid’s growth, but giving it proper nutrients keeps it thriving. When fertilizing your orchid, use Orchid Food designed for its specific needs to guarantee ideal nutrient absorption.
Follow these tips for effective fertilizing:
- Dilute fertilizer to half-strength to avoid root burn and support root health.
- Fertilize weekly during active growth, then reduce to once a month when dormant.
- Water once a week to flush out accumulated salts and prevent mineral buildup.
- Avoid general fertilizers with urea, which orchids can’t absorb effectively.
- Watch for signs of over-fertilization like discolored leaves or salt deposits, adjusting your routine as needed. Additionally, consider using organic fertilizers that promote vibrant blooms and strong growth while being safe for your plants.
Repotting Your Orchid for Healthy Growth
Repotting your orchid every 1 to 3 years keeps its roots healthy and prevents rot by renewing the potting mix before it breaks down. Use a well-draining potting mix like Orchid Bark to boost air circulation and drainage, preventing root rot. Choose a pot slightly larger than the current one and position sympodial orchids so the oldest pseudobulbs sit at the edge. Always sterilize tools before repotting to avoid disease transfer.
| Step | Key Tip |
|---|---|
| 1. Remove orchid | Handle roots gently |
| 2. Sterilize tools | Prevent disease transmission |
| 3. Choose pot | Slightly larger with drainage |
| 4. Add mix | Use Orchid Bark for airflow |
| 5. Position | Oldest pseudobulbs at pot edge |
Repotting guarantees your orchid’s healthy growth.
Managing Pests and Common Orchid Issues
Although orchids are resilient, pests like mealybugs, scale, and spider mites can quickly damage your plants if you don’t catch them early.
Orchids are tough, but pests like mealybugs and spider mites can harm them if not spotted early.
To protect your orchid health, follow these steps:
- Regularly inspect your orchids for pests, especially mealybugs and spider mites.
- Use a homemade pesticide—equal parts water and rubbing alcohol with dish soap—to treat infestations directly.
- Isolate infested plants immediately to prevent spreading.
- Watch for fungal infections caused by over-watering; apply Physan (1 tsp/gallon) as a preventative spray.
- Adjust your watering routine if you notice leaf yellowing or wilting, signs of over-watering or nutrient deficiencies.
Frequently Asked Questions
How to Take Care of an Orchid for Dummies?
You’ll water your orchid once a week, letting the soil dry slightly. Place it in bright, indirect light, use orchid-friendly soil, fertilize weekly, and repot every 1-2 years to keep it healthy and thriving.
How to Care for Indoor Orchids for Beginners?
Did you know orchids make up about 10% of all flowering plant species? To care for them indoors, water weekly when soil’s damp, provide bright indirect light, use orchid mix, and maintain 50% humidity for healthy growth.
What Is the Secret to Orchid Care?
The secret to orchid care is balancing watering, light, and humidity. You’ll want to water weekly, provide bright indirect light, maintain 50%-70% humidity, and use well-draining potting mix to keep roots healthy and encourage blooming.
Is It Better to Soak or Water Orchids?
Think of your orchid as a desert traveler—it’s better to soak occasionally, letting roots drink deeply without drowning. You’ll keep it healthy by watering only when the medium’s slightly dry, avoiding root rot’s shadow.
Final Thoughts
Caring for your orchid is like nurturing a delicate dance—each step, from choosing the right plant to watering and feeding, keeps the rhythm alive. By giving your orchid bright, indirect light, proper humidity, and the right nutrients, you’ll watch it bloom beautifully. Remember, patience and consistency are your best partners in this journey. With these simple tips, you’ll turn your orchid care into a rewarding, blossoming success.