You might not realize that planting lavender at the wrong time or in poor soil can stunt its growth for years. Getting the timing, location, and soil just right is more important than you might think. If you want your lavender to thrive and produce those fragrant blooms year after year, there are key steps you’ll need to follow carefully. Let’s start with when and where to plant for the best results.
Best Time to Plant Lavender
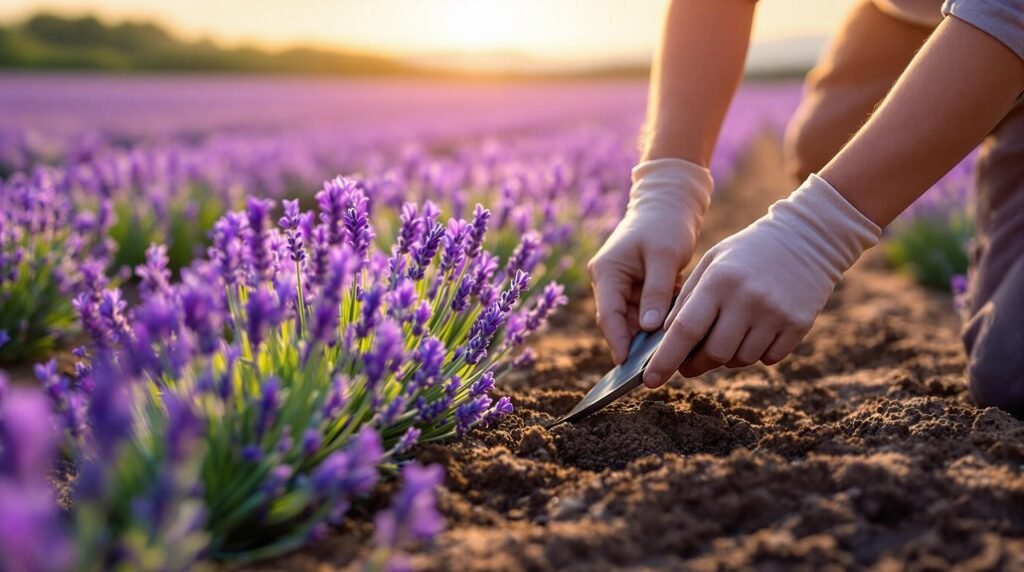
Although you can plant lavender at different times depending on your climate, the best time is generally in spring, around April or May, once the risk of frost has passed and the soil has warmed up.
This timing allows for prime root establishment before the heat of summer. In colder zones, early summer also works well, while warmer zones can benefit from early fall planting time.
Before you plant lavender, focus on soil preparation and guarantee excellent drainage to prevent root rot.
Proper soil preparation and excellent drainage are essential to keep lavender roots healthy and prevent rot.
Lavender thrives with at least 6 to 8 hours of direct sunlight daily, so your planting time should align with maximizing sunlight exposure.
Choosing the right season and preparing your soil properly will set your lavender up for healthy growth and longevity.
Ideal Location and Sunlight Requirements
When you choose a spot for your lavender, make certain it gets at least 6 to 8 hours of direct sunlight daily, as this is essential for healthy growth and abundant blooms.
Finding the perfect location means selecting a place with full sun and good air circulation to prevent issues like root rot. Lavender thrives best with ideal sunlight exposure during the growing season, but in hotter climates, some afternoon shade can protect it from overheating without sacrificing light.
Look for a spot that offers:
- Well-draining soil to keep roots healthy and dry
- Plenty of morning sun with gentle afternoon shade if needed
- Open air flow to keep humidity low and prevent disease
These sunlight requirements guarantee your lavender flourishes beautifully.
Preparing Soil for Lavender Planting
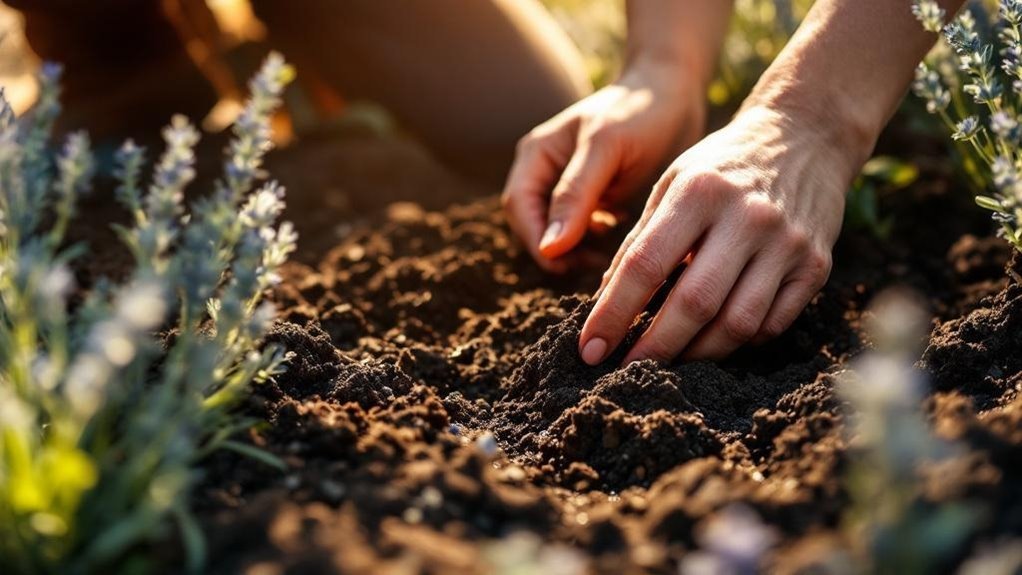
Preparing soil properly is crucial for growing healthy lavender plants. Lavender thrives best in well-drained soil with a slightly alkaline pH between 6.7 and 7.3, which helps prevent root rot.
Before planting, clear your planting area of rocks, debris, and weeds, then till the soil to at least 12 inches deep to encourage strong root growth. If your soil is heavy or clay-rich, improve drainage by mixing in sand or gravel or using raised beds.
Incorporate humus to enrich the soil without adding excessive nitrogen, which can reduce flowering and scent. Make sure the planting area doesn’t retain standing water after rain, as lavender prefers dry conditions and can suffer from overwatering.
Proper soil prep sets your lavender up for long-term success.
Step-by-Step Lavender Planting Guide
Since lavender thrives in full sun and well-draining soil, start by choosing a planting site that gets at least 6 to 8 hours of direct sunlight daily.
Choose a sunny spot with at least 6 to 8 hours of direct sunlight for your lavender to thrive.
When planting lavender in the garden, dig holes larger than the root balls in well-draining, slightly alkaline soil. Space plants 12 to 18 inches apart to guarantee proper air circulation and drainage.
After planting lavender, water young plants thoroughly but avoid overwatering; allow soil moisture to dry between waterings. To care for lavender effectively, consider mulching to suppress weeds and retain soil moisture—just keep mulch away from the base to prevent rot.
Follow these steps for planting lavender successfully:
- Feel the joy of watching your lavender bloom vibrantly
- Enjoy the calming scent filling your garden
- Experience pride in nurturing healthy, thriving lavender plants
Watering and Fertilization Tips
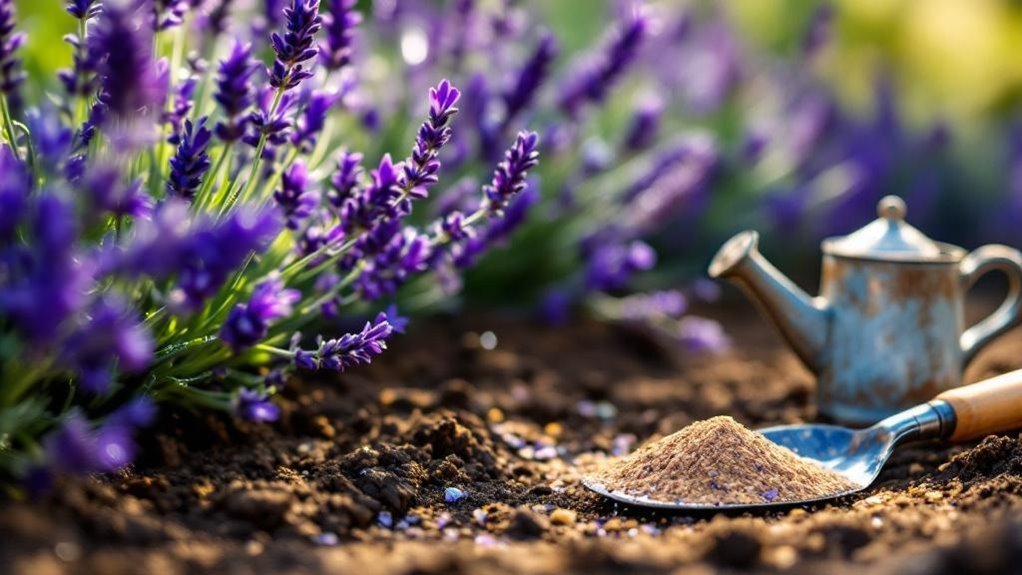
Although lavender is known for its drought tolerance, you’ll need to water young plants regularly to help their roots establish.
Water deeply rather than frequently, especially during the first summer, ensuring the soil to dry out between sessions. Mature plants are drought-tolerant and thrive with infrequent watering, so avoid overwatering, which can cause yellow leaves.
Compost added at planting usually provides enough nutrients, so fertilization is minimal. Use a low-nitrogen fertilizer or water-soluble plant food sparingly during the growing season to encourage healthy blooms without excessive foliage growth.
Watch for drooping leaves, a sign of underwatering, and adjust your watering accordingly. By following these watering and fertilization tips, you’ll help your lavender stay vibrant and productive throughout the season.
Different Types of Lavender to Grow
Choosing the right type of lavender can make a big difference in how well your garden thrives. When selecting lavender varieties, consider your USDA hardiness zone and garden design goals.
English Lavender, known for its strong fragrance, flourishes in zones 5-9. Lavandin offers robust growth and high oil content, ideal for zones 5-8. French Lavender, with its unique fringed flowers, adds visual appeal in zones 5-9, while Spanish Lavender suits warmer zones 7-9 with its delicate structure.
You’ll love growing lavender that:
- Fills your garden with soothing fragrance
- Thrives robustly in your climate
- Enhances your garden design with diverse textures and colors
Picking the right lavender guarantees a vibrant, fragrant, and resilient garden.
Pruning Techniques for Healthy Growth
Maintain your lavender’s health and shape by pruning it in late summer or early fall, right after blooming. Prune taller varieties by one-third and cut lower types back to new growth to maintain bushiness. Removing dead stems improves airflow, reducing fungal diseases. Early spring pruning also stimulates fresh new growth and boosts blooming, especially with six to eight hours of sunlight exposure.
| Pruning Time | Purpose |
|---|---|
| Late summer/fall | Maintain shape, new growth |
| Early spring | Stimulate fresh growth |
| During pruning | Remove dead stems, improve airflow |
| Regularly | Prevent woody, leggy growth |
Following these pruning techniques keeps your lavender healthy and encourages vigorous blooming season after season.
How and When to Harvest Lavender
When you notice the lavender buds beginning to open, it’s the perfect moment to harvest for the best fragrance and potency.
To harvest lavender, use sharp scissors to cut stems carefully, removing no more than one-third of the plant to keep it healthy. Check readiness by bending the stem—if it bends easily, you’re good to cut.
After cutting, hang lavender flowers upside down in a dark, well-ventilated area to dry. This method helps dry lavender retain its color and scent.
Once dry, store dried lavender in airtight containers away from light to maintain fragrance.
- Feel the calming scent fill your space
- Enjoy vibrant, long-lasting lavender flowers
- Preserve your harvest’s natural potency effortlessly
Common Pests and Diseases Affecting Lavender
Anyone growing lavender will eventually face challenges from pests and diseases that can affect the plant’s health and appearance.
Common pests like whiteflies, spider mites, leafhoppers, and spittlebugs cause wilting and yellow leaves. Diseases such as phytophthora lead to root rot, while Septoria leaf spot causes discoloration.
Overwatering often triggers root rot, which you’ll notice by bad smells and yellow leaves, so guarantee proper drainage to avoid this. Drooping leaves may signal underwatering instead.
To control pests, use insecticidal soaps, neem oil, or strong water sprays. Maintaining good air circulation by spacing plants properly reduces fungal diseases linked to high humidity and moisture.
Overwintering and Winter Care for Lavender
Pests and diseases aren’t the only challenges lavender faces; winter can also test your plant’s resilience. Proper overwintering and winter care are essential to protect your lavender from frost damage and root rot caused by excess moisture.
After the ground freezes, apply mulch to insulate roots and reduce freeze-thaw stress. Guarantee excellent drainage, especially in colder climates—raised beds or pots work well. Avoid heavy pruning in fall; wait until early spring to promote healthy growth.
To keep your lavender thriving through winter:
- Mulch after ground freezes to shield roots
- Place potted lavender in sheltered spots to prevent excess moisture
- Monitor regularly for frost damage and root rot
These steps will help your lavender survive winter’s harsh conditions.
Frequently Asked Questions
What to Know Before Planting Lavender?
Before planting lavender, you should pick a sunny spot with good airflow and well-draining soil. Wait until after frost, space plants properly, and avoid overwatering since lavender prefers dry conditions to thrive.
What Is the 888 Rule for Lavender?
You might’ve heard about the 888 rule for lavender—it’s not just folklore. You give your plant 8 hours of sun, space them 8-12 inches apart, and keep soil pH near 8 to help them thrive vibrantly.
What Should Not Be Planted Next to Lavender?
You shouldn’t plant moisture-loving or shade-preferring plants like ferns, hostas, or caladiums next to lavender. Avoid heavy feeders like tomatoes and nutrient-hungry herbs such as basil or mint to keep your lavender healthy and fragrant.
How to Properly Take Care of a Lavender Plant?
You know lavender thrives with 6-8 hours of sunlight daily. Water young plants regularly but let soil dry between. Prune after blooming, fertilize sparingly, and watch for pests while ensuring good air circulation for healthy growth.
Final Thoughts
With the right timing, location, and care, growing lavender can be as rewarding as a refreshing experience. You’ll want to plant after frost, give your lavender plenty of sunshine, and keep the soil just right—not too wet, not too dry. Stay on top of pruning and pest control, and your lavender will thrive through every season. Follow these steps, and you’ll soon have a fragrant garden that’s truly the crown jewel of your outdoor space.