You might not realize that irises can become overcrowded over time, which actually hinders their blooming. When you let their rhizomes grow without dividing them, the plants start competing for nutrients and space. Knowing exactly when and how to divide your irises can save you from disappointing flower seasons. If you want to keep your garden vibrant and healthy, it’s important to understand the best practices for growing and dividing these elegant plants.
Types of Irises and Their Characteristics
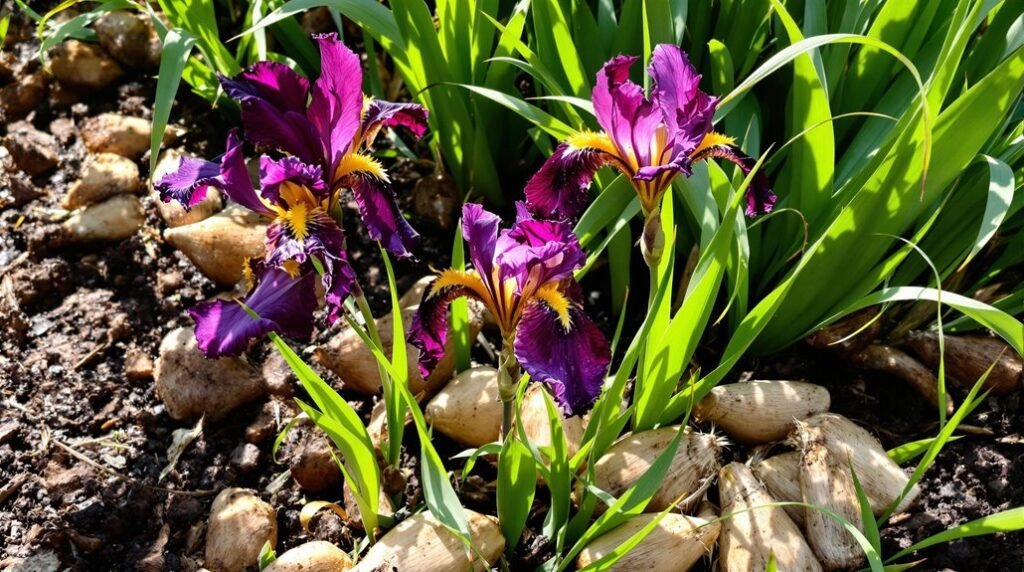
Although the genus Iris includes over 250 species, you’ll most often encounter tall bearded irises (I. germanica) and Siberian irises in home gardens.
Bearded irises stand out with soft hairs along the falls of their flowers, giving them a distinct texture. Siberian irises, on the other hand, feature a comb or ridge called a crest, setting them apart visually.
Among the varieties of irises, bearded hybrids can bloom twice in a season, while Siberian irises bloom after the bearded types finish.
You’ll find these irises in many colors—white, yellow, pink, purple, blue, and bicolored—allowing you to tailor your garden’s look.
Bearded irises offer large, colorful blooms, and Siberian irises are prized for their ease of growth and quick multiplication, making both excellent landscape choices.
Ideal Growing Conditions for Irises
With so many iris varieties to choose from, understanding their ideal growing conditions helps you get the best blooms and healthy plants.
Irises thrive in well-drained soil and need full sun, at least 6-8 hours daily, to flourish. Here’s what to focus on:
- Soil: Choose well-drained soil with a pH around 6.8; bearded irises prefer lime-rich soil, while beardless types like Siberian irises favor moist, slightly acidic soil.
- Sunlight: Guarantee your irises get ample full sun for vibrant flowers.
- Planting time: Plant rhizomes in late summer or early autumn, just below the soil surface for strong root development.
- Spacing and drainage: Avoid overcrowding and check soil drainage regularly to prevent root rot and keep irises healthy.
These conditions guarantee your irises thrive beautifully.
When to Divide and Transplant Irises
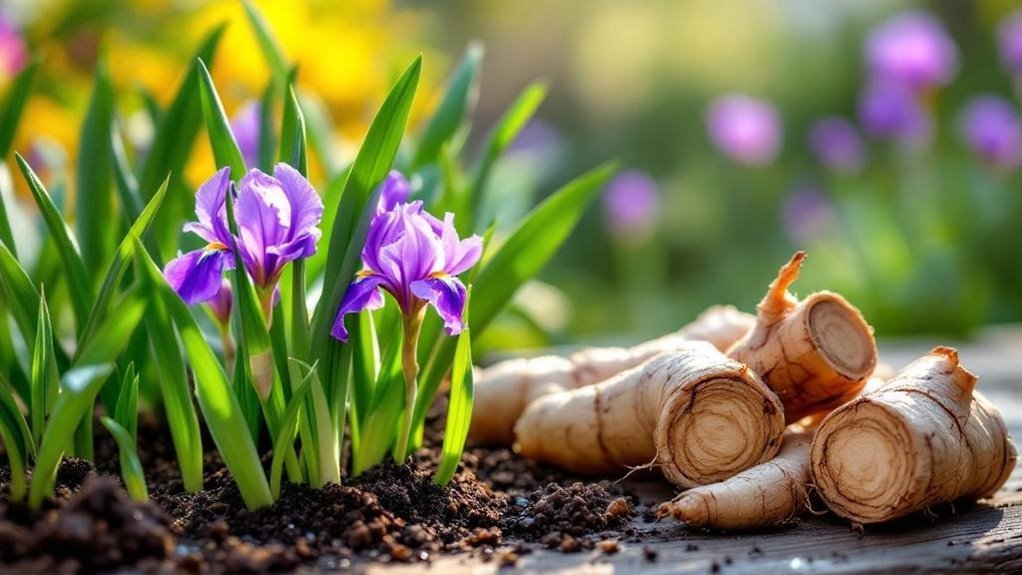
If your irises start to bloom less or their rhizomes push up out of the soil, it’s time to divide and transplant them. The best time to divide is mid to late summer, after flowering ends, so your plants can establish roots before winter.
When dividing irises, separate rhizomes into 3-4 inch sections with healthy roots and foliage, discarding any damaged pieces. Make certain to transplant irises with rhizomes just below or at soil level, spacing them 12-18 inches apart for good air circulation.
Dividing irises every 3-5 years keeps them vigorous and helps prevent problems like bacterial rot and iris borer infestations. Paying attention to when to divide guarantees your irises stay healthy and bloom beautifully year after year.
Signs Your Iris Needs Dividing
You’ll know it’s time to divide your irises when their health starts to decline despite lush foliage. Overcrowded irises often look full but hide problems beneath the surface.
Watch for these clear signs you need to divide your plants:
- Rhizomes heaving out of the ground, pushed up by overcrowded roots.
- A noticeable drop in flowering, signaling the iris is struggling.
- Roots tangled like spaghetti or snakes, indicating cramped space.
- Visible signs of disease or root damage that could spread if left unchecked.
These signs show your irises need dividing to restore health and bloom production.
Regularly inspecting for these warning signals keeps your garden vibrant and thriving.
Step-by-Step Guide to Dividing Irises
Since irises need dividing every 3-5 years to stay healthy and bloom well, you should tackle this task in mid to late summer, after flowering ends.
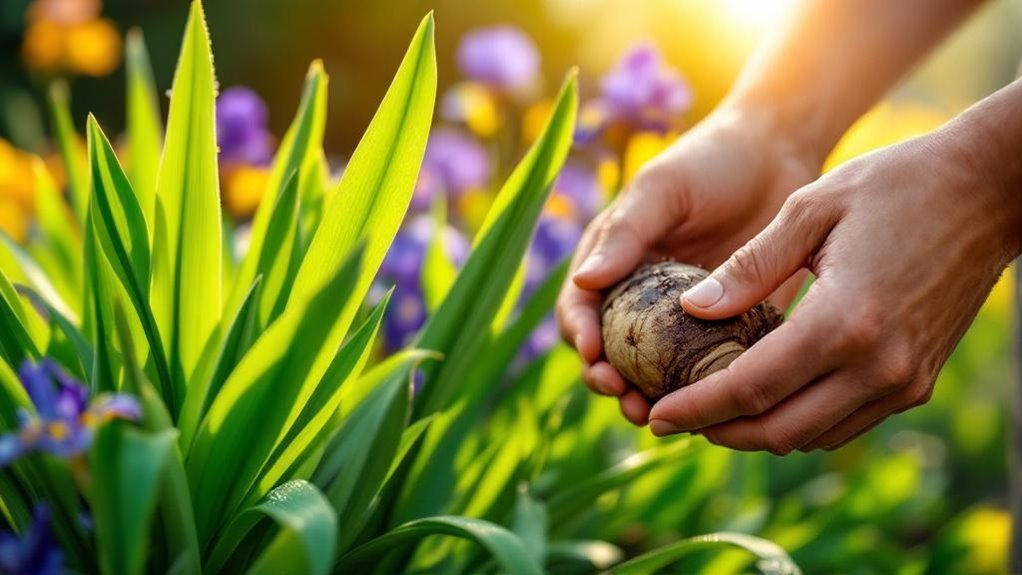
Start by carefully lifting the clump of rhizomes with a garden spade or fork, minimizing root disruption. Trim the leaves to about one-third of their height to reduce water loss.
Lift irises gently with a spade, then trim leaves to one-third height to conserve moisture.
Next, separate the rhizomes into 3-4 inch sections, making sure each piece has healthy roots and foliage; discard any damaged or diseased parts.
Finally, replant the divisions immediately in well-drained soil, placing the tops of the rhizomes just above the surface and spacing them 12-18 inches apart.
This step-by-step divide and replant process guarantees your irises stay vigorous and bloom beautifully for years.
How to Transplant Irises Successfully
Although transplanting irises requires careful timing and preparation, doing it in mid to late summer after flowering guarantees they establish strong roots before winter.
To transplant irises successfully, follow these steps:
- Select a sunny spot with good drainage to prevent root rot.
- Space rhizomes 18 inches apart, planting them just below or at soil level with roots facing downward.
- Trim leaves to 6-9 inches to reduce water loss and stress.
- Water deeply right after transplanting to encourage a healthy root system.
Post-Transplant Care for Irises
When you finish transplanting irises, watering them deeply helps promote strong root growth and keeps the soil moist during their critical establishment period.
Make certain the soil remains moist, especially in the first few weeks, to support healthy roots. Trim the new leaves back to about one-third of their height to reduce stress and help your irises adjust.
Keep a close eye on your plants by monitoring the transplanted irises for any signs of distress or disease, as they’re more vulnerable right after transplanting.
Once established, your irises will need minimal care, but continue to check regularly for weeds and debris to maintain healthy growth.
Consistent moisture and vigilant monitoring guarantee your irises thrive after transplanting.
Soil Preparation and Planting Techniques
Healthy irises start with well-prepared soil and proper planting techniques. For successful soil preparation, dig 18 inches deep and enrich the area with fertilizer and organic matter like compost or gypsum.
When you plant rhizomes, place them just below the soil surface with roots facing downward and tops visible. Space them 12-18 inches apart to allow room for growth.
Aim to plant during July through September, giving roots 4-6 weeks to establish before frost. Confirm your irises get 6-8 hours of direct sunlight daily, adding afternoon shade in extreme heat.
- Dig 18 inches deep and mix in organic matter.
- Plant rhizomes shallowly with tops exposed.
- Space rhizomes 12-18 inches apart.
- Choose late summer for planting.
Common Iris Pests and Diseases
Because irises are prone to several pests and diseases, you need to stay vigilant to protect your plants.
One of the most damaging pests is the iris borer; its larvae hatch from eggs on old leaves and tunnel into rhizomes, causing severe damage. Watch for signs early to manage them effectively.
Iris borer larvae hatch on old leaves and tunnel into rhizomes, causing severe damage—early detection is key.
Leaf spot diseases, including bacterial leaf spot and fungal leaf spot, create unsightly brown spots on leaves. You can control fungal leaf spots by applying copper fungicide or zineb dust every two weeks during growth.
Bacterial soft rot requires immediate removal and destruction of infected rhizomes to stop spread. Regularly clean up old debris and monitor for aphids and thrips to keep your irises healthy and pest-free.
Best Practices for Fertilizing and Maintenance
Although irises are relatively low-maintenance, proper fertilizing and regular upkeep play a crucial role in keeping them vibrant and blooming.
You should fertilize your irises with a low-nitrogen fertilizer in spring and again after blooming, adjusting for Japanese irises that need an extra feeding before bloom.
Maintenance also involves keeping your iris beds clean and free of weeds to improve sun exposure and air circulation.
To guarantee vigorous growth, regularly check for overcrowding and divide clumps every 3-5 years.
Here’s a quick guide:
- Fertilize with low-nitrogen fertilizer twice yearly; thrice for Japanese irises.
- Monitor soil type to tailor nutrient needs.
- Remove weeds and debris for healthy growth.
- Divide iris clumps every 3-5 years to prevent overcrowding.
Stay consistent with these practices for thriving irises.
Frequently Asked Questions
When Should You Divide Iris Plants?
You should divide your iris plants every 3-5 years, ideally in mid to late summer, after blooming ends. Watch for overcrowding or fewer flowers, then separate rhizomes with healthy roots and foliage for best growth.
What Is the Secret to Growing Irises?
Think of your irises as dancers needing space to shine; you’ll keep them thriving by planting in sunlight, spacing rhizomes well, watering deeply at first, and dividing them every few years to avoid crowding and disease.
How Far Apart Should You Plant Iris Plants?
You should plant iris rhizomes 12 to 18 inches apart to give them room to grow and get enough air circulation. For larger varieties, spacing closer to 18 inches helps prevent overcrowding and keeps them healthy.
How to Dig up and Divide Iris?
You’ll dig up iris clumps gently using a spade or fork, remove soil, trim leaves, then break rhizomes into 3-4 inch sections with healthy roots. Discard damaged parts and replant carefully for best growth.
Final Thoughts
With your hands in the soil and eyes on the vibrant blooms, you’re nurturing more than just irises—you’re cultivating bursts of color that dance like flames in the sunlight. By dividing and caring for your plants, you keep their roots strong and spirits bright. Stay attentive, and your garden will reward you with a living tapestry, where every petal tells a story of growth, resilience, and the joyful art of gardening.