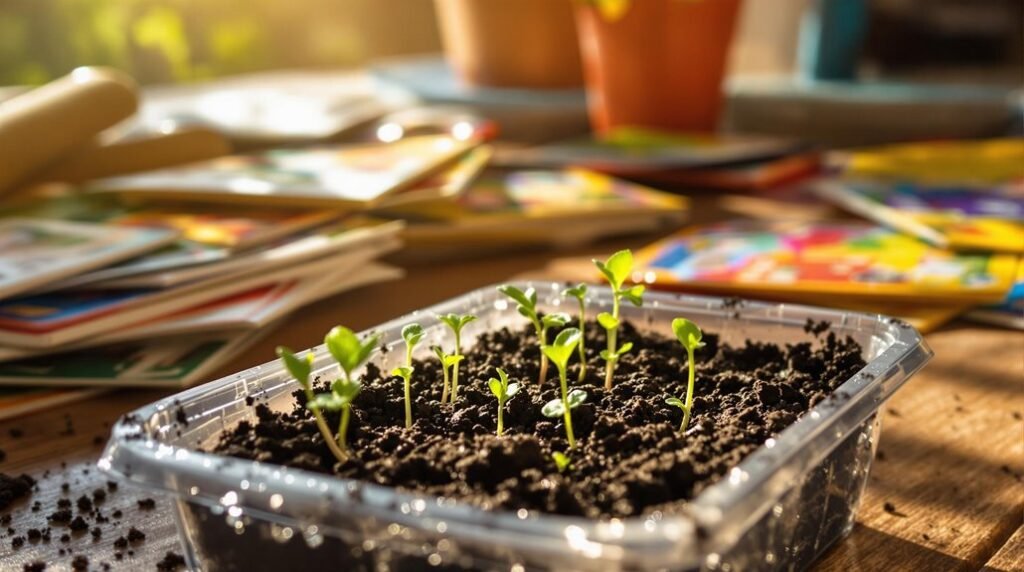
Starting seeds indoors gives you a head start on the growing season and more control over your plants’ environment. You’ll want to gather a few key supplies and understand the best way to prepare your seed mix and containers. Getting these basics right can make all the difference between healthy seedlings and disappointment. But before you plant your first seed, there are some crucial steps to set you up for success.
Why Start Seeds Indoors
If you want to give your plants the best start, starting seeds indoors lets you control the environment to guarantee ideal conditions for germination. This controlled environment helps your seedlings germinate best and promotes faster plant growth, especially for tender plants that need extra care.
You’ll enjoy a longer growing season by starting seeds indoors, giving you a head start before outdoor conditions are suitable. Proper plant spacing indoors reduces thinning later, saving time and effort.
Plus, starting seeds indoors supports effective weed management since seedlings establish without weed competition. This method allows you to maximize harvest potential, particularly in regions with shorter seasons.
Essential Supplies for Seed Starting
Successful seed starting depends on having the right supplies on hand. You’ll need seed trays, like a 1020 propagation tray with seed starting tray inserts, to provide a perfect environment for your seedlings.
A high-quality seed starting mix is crucial—it should be pre-moistened to maintain consistent moisture levels. Using a humidity dome helps retain moisture and creates a humid atmosphere, boosting germination success.
For watering, a spray bottle or squirt bottle lets you gently water without disturbing seeds. Don’t forget plant markers and a permanent garden pen to label your seedlings clearly, preventing mix-ups as they grow.
With these seed starting supplies, you’ll set a solid foundation for healthy, thriving seedlings right from the start.
Preparing Your Seed Starting Mix and Containers
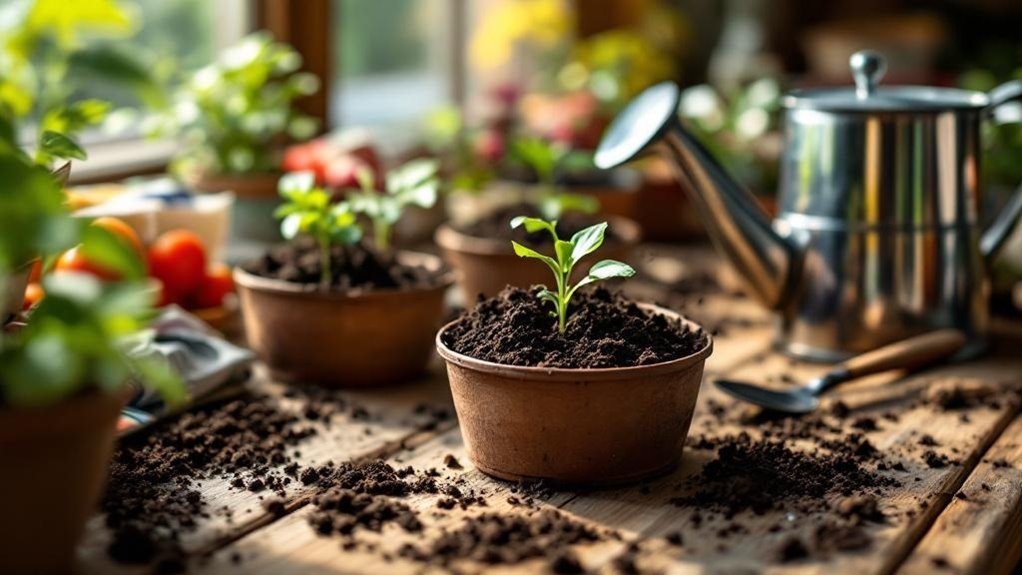
Preparing your seed starting mix and containers carefully sets the stage for strong seedling growth. Start by choosing a high-quality seed starting mix like Promix or Johnny’s 512, which offers excellent moisture retention and drainage.
Before filling your containers—whether store-bought or repurposed—confirm they’ve drainage holes to prevent waterlogging and root rot. Pre-soak the seed starting mix with warm water until it feels like damp sand to guarantee even moisture.
When filling trays or pots, avoid compacting the soil to maintain proper airflow and allow roots to expand freely.
Finally, label each container clearly with the seed variety and planting date. This helps you track your seedlings’ progress and care needs throughout their growth.
How to Sow Seeds Properly
One of the key steps to sow seeds properly is guaranteeing your pre-moistened seed starting mix feels like damp sand.
Use potting soil or a quality soil mix in small containers. Follow the seed packets for the correct planting depth, creating small holes in the soil mix. Place 2-4 seeds per hole, gently pressing them into the soil to guarantee contact.
After sowing, mist the soil lightly to keep the soil moisture consistent without disturbing the seeds. Cover your containers with a humidity dome to maintain humidity until germination.
Don’t forget to label each pot with plant markers to keep track of your seedlings. Once seedlings outdoors conditions are right, you’ll be ready to transplant them confidently.
Maintaining Ideal Germination Conditions
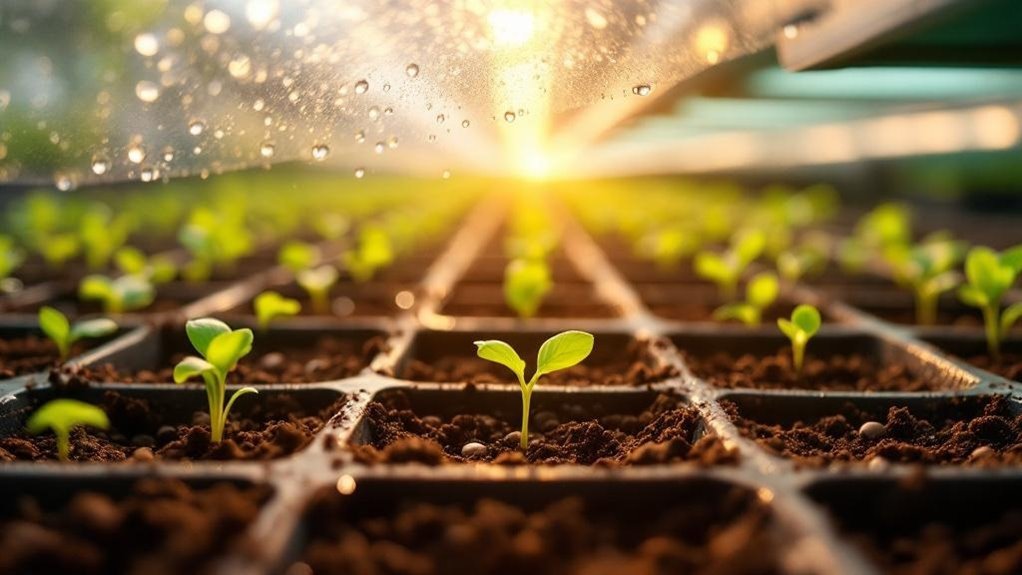
After sowing your seeds properly, you’ll want to create the best environment for them to sprout.
To maintain soil temperatures between 75°F and 90°F, use a heat mat if needed. High humidity levels are essential, so cover your seed trays with a humidity dome or plastic wrap, but avoid excess moisture that can cause seed rot.
Mist the soil lightly to keep it moist without soaking it, as overwatering often leads to fungal issues. Monitor soil moisture closely by checking the surface daily; it should feel damp but not waterlogged.
Once seeds germinate, provide at least 12 to 16 hours of light daily using grow lights placed about 2 inches above the seedlings. This setup encourages healthy growth and prevents legginess, setting your seeds up for successful development.
Caring for Seedlings After Germination
Once your seedlings have sprouted, you’ll need to keep the soil consistently moist without overwatering, using bottom watering to encourage strong roots and prevent fungal problems.
To guarantee robust growth, keep an eye on your seedlings’ nutrient needs and provide diluted fish fertilizer every 4-6 weeks.
Seedlings need 12 to 16 hours of light daily under grow lights placed just 2 inches above to avoid legginess.
When the first leaves appear, adjust watering techniques and watch for stress signs like yellowing leaves.
Begin the hardening-off process gradually to reduce transplant shock.
- Keep soil moist but not soaked
- Use bottom watering to strengthen roots
- Provide sufficient light with grow lights
- Monitor nutrient needs regularly
- Start hardening-off before transplanting
Transplanting Seedlings Successfully
When your seedlings have developed their first true leaves, it’s time to move them into larger containers. Choose the strongest seedling if multiple sprouts appear, ensuring healthy growth.
Carefully transplant seedlings by holding their cotyledons to avoid root damage. Use a high-quality potting mix lightly moistened with diluted fertilizer, providing vital nutrients.
Plant transplanted seedlings at the same depth they grew in seedlings trays; for tomatoes, bury them deeper to encourage a stronger root system.
After transplanting, place seedlings where they’ll get adequate sunlight—aim for 12 to 16 hours daily—to prevent leggy growth. Utilizing self-watering systems can help maintain consistent moisture levels, supporting healthy seedling development.
Properly transplanted seedlings will thrive, growing sturdier and healthier as they develop. Following these steps helps your seedlings shift smoothly and boosts their chances of flourishing once planted outdoors.
Hardening Off and Moving Seedlings Outdoors
Although your seedlings have grown strong indoors, they need time to adjust before facing outdoor conditions. Start hardening off by gradually increasing their exposure time, beginning with 30 minutes on day one.
Seedlings grown indoors need gradual exposure to outdoor conditions, starting with just 30 minutes on the first day.
Monitor weather carefully to avoid stress from wind, sun, or cold. Aim to have seedlings acclimated by the last frost date, ensuring they’re ready for transplanting once they’ve true leaves.
Remember to:
- Increase outdoor exposure gradually over 1-2 weeks
- Keep seedlings moist but not waterlogged
- Transplant at the same soil depth, burying deeper for plants like tomatoes
- Protect from harsh sun and wind during the first week after transplanting
- Avoid transplanting before seedlings are fully acclimated
Following these steps will help your seedlings thrive outdoors.
Frequently Asked Questions
What Is the Easiest Way to Start Seeds Indoors?
You’ll want to use seed trays filled with pre-moistened seed starting mix, keep soil warm with a heat mat, provide ample light with grow lights, water gently, and label your seeds to stay organized throughout growth.
Is It Better to Germinate Seeds in Soil or Paper Towel?
When it comes to germinating seeds, you’ll find soil is the bread and butter for healthy growth. It provides nutrients, moisture, and support, helping your seedlings develop strong roots instead of struggling like in paper towels.
Should You Soak Seeds Before Starting Indoors?
You should soak seeds before starting indoors to boost germination by softening their coats and activating enzymes. Just soak them gently for 4-24 hours, depending on seed type, then plant immediately to avoid rot or drying out.
How Do You Germinate Seeds Perfectly?
You might think germinating seeds perfectly is tricky, but it isn’t. Keep soil moist, warm (65°F-80°F), sow at correct depth, cover with plastic until sprouting, then provide 12-16 hours of light for strong seedlings.
Final Thoughts
Starting seeds indoors isn’t just gardening—it’s like having a magic wand for your plants! With the right supplies and a little care, you’ll grow a jungle of healthy seedlings that’ll make your neighbors green with envy. Keep soil warm, light bright, and moisture just right, and you’ll be a seed-starting superstar in no time. Trust me, once you nail this foolproof method, you’ll wonder how you ever lived without your indoor garden empire!