Did you know that nearly 30% of household waste consists of food scraps that can be composted? If you’re looking to reduce waste and create nutrient-rich soil for your garden, composting your kitchen scraps is a practical solution. It might seem complicated at first, but with the right steps and care, you can easily turn leftovers into valuable compost. Let’s explore how you can get started and maintain a healthy compost pile.
Benefits of Composting Kitchen Scraps
When you compost kitchen scraps, you greatly reduce the amount of waste sent to landfills, where food scraps make up over 28% of the content and produce harmful methane gas.
Composting transforms this organic matter into nutrient-rich soil, serving as an effective soil amendment that boosts plant health and soil structure. By diverting kitchen scraps from landfills, you cut down on greenhouse gas emissions and promote waste reduction.
Composting turns kitchen scraps into nutrient-rich soil, improving plants and reducing harmful emissions.
Using compost lowers your gardening costs since you rely less on synthetic fertilizers. Plus, composting connects you to nature, encouraging mindful waste management.
While various composting methods exist, the core benefit remains the same: turning organic waste into valuable resources that support sustainable gardening and help the environment.
Choosing the Right Composting Method
Since composting methods vary widely, choosing the right one depends on your available space, time, and the types of kitchen scraps you want to recycle. If you have a yard, backyard composting mixes nitrogen-rich and carbon-rich composting materials outdoors. Vermicomposting and Bokashi composting work well indoors, with vermicomposting using worms and Bokashi fermenting scraps, including meat and dairy. Trench composting offers a low-maintenance, direct-soil method, while hot composting needs more effort but speeds up decomposition.
| Method | Space Needed | Ideal Kitchen Scraps |
|---|---|---|
| Backyard Composting | Outdoor | Vegetables, yard waste |
| Vermicomposting | Small indoor | Fruit peels, soft scraps |
| Bokashi Composting | Compact indoor | All scraps, including meat |
| Trench Composting | Garden soil | Various scraps |
What Can and Cannot Be Composted
Knowing what you can and can’t compost helps you maintain a healthy, odor-free pile that breaks down efficiently.
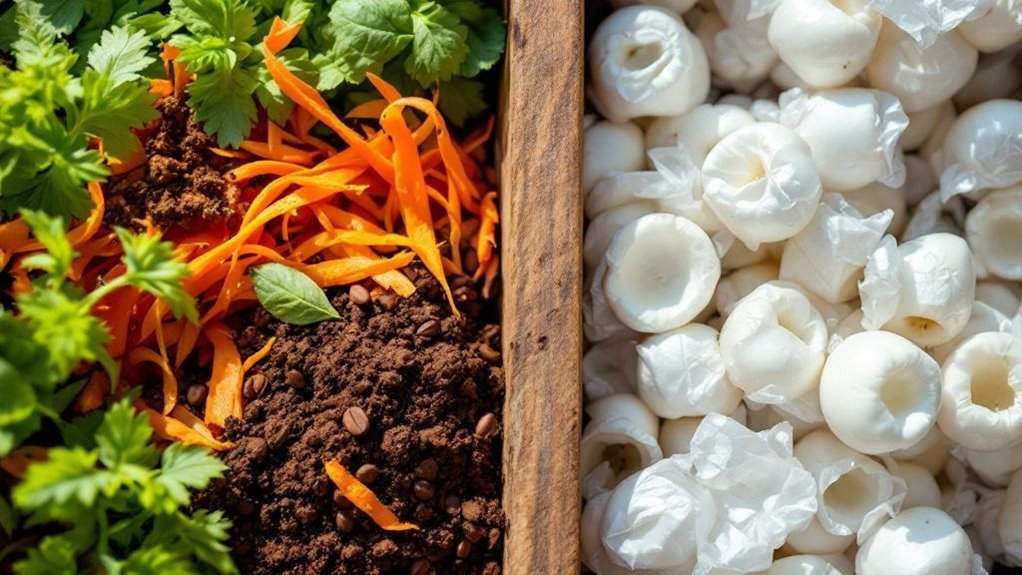
When composting kitchen food scraps, focus on compostable items like fruit and vegetable scraps, coffee grounds, eggshells, and crushed nutshells. These “greens” add nitrogen, while dry leaves and paper provide “browns,” rich in carbon. Maintaining the right carbon-to-nitrogen ratio, around 25-30:1, guarantees your compost bin works effectively.
Avoid adding meat and dairy, as they attract pests and cause odors. Also, skip oily foods, glossy paper, pet waste, and diseased plant matter to keep your compost safe and healthy.
Compost provides valuable nutrients for your garden, so be mindful when you compost at home to create rich, balanced soil.
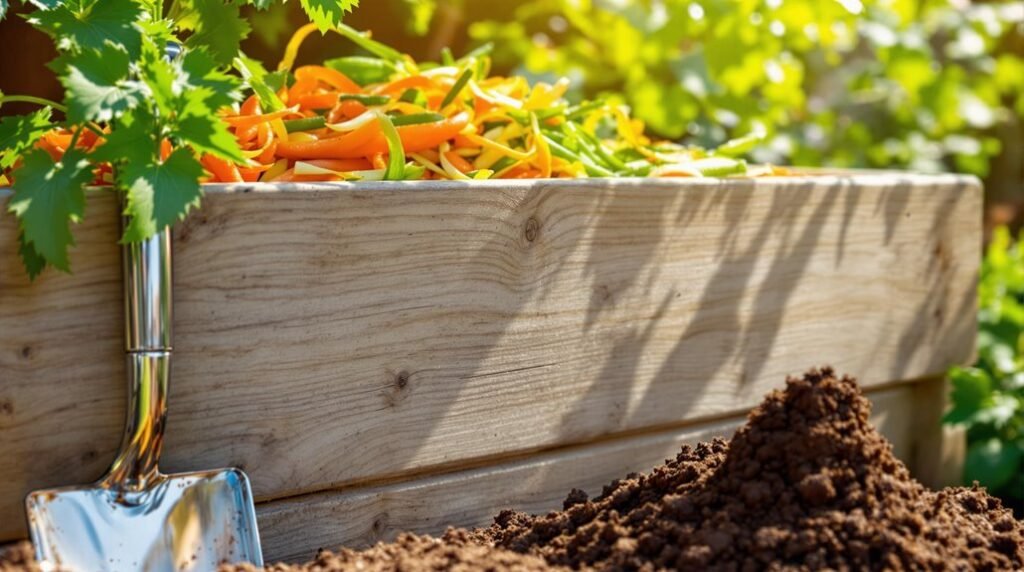
Preparing Your Compost Bin or Site
Although setting up your compost bin takes some effort, choosing the right location and container guarantees your kitchen scraps break down efficiently.
Pick a composting location that’s well-drained and offers good air circulation to prevent soggy or smelly piles. A shady spot helps keep the bin from overheating and losing moisture.
Select a compost bin at least 3 feet wide and 2-3 feet deep, or try a bottomless bin directly on soil for better nutrient transfer.
Start with a layer of browns, like dried leaves, to balance your green materials such as food scraps.
Remember to monitor the moisture regularly—it should feel like a wrung-out sponge—to maintain ideal conditions for decomposition.
Proper preparation assures your compost thrives.
Collecting and Adding Kitchen Scraps
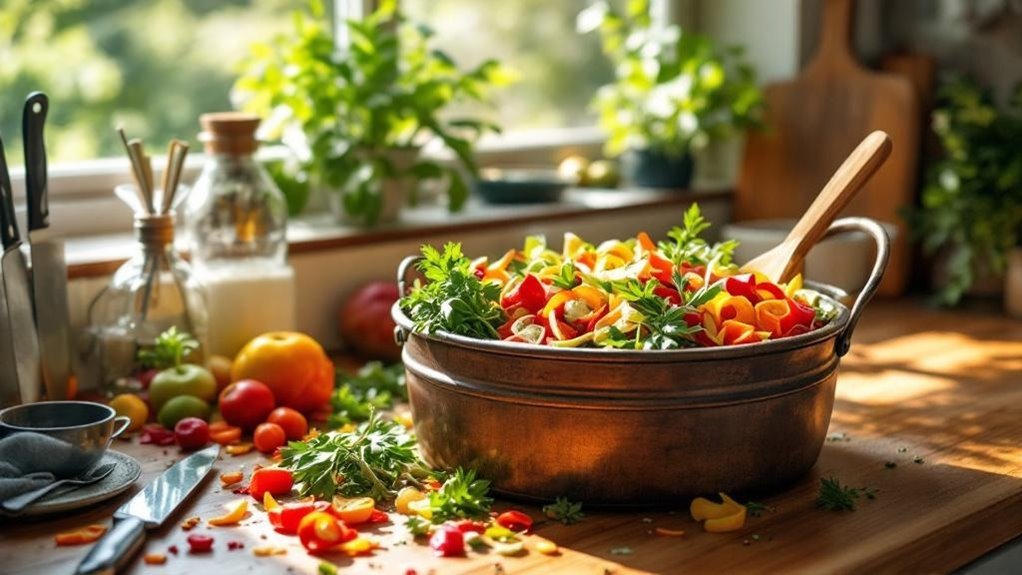
Once your compost bin is ready, you can start collecting kitchen scraps to feed it. Collect kitchen scraps like fruits and vegetables, coffee grounds, and tea leaves, as they decompose quickly and add valuable nitrogen. Avoid adding meat, dairy, or oily foods to prevent pests and odors. Chop larger scraps into smaller pieces to speed up decomposition. Store your scraps in a designated container with a lid to minimize odors and keep fruit flies away.
| Scrap Type | Why Add It? | Notes |
|---|---|---|
| Fruits and Vegetables | Decompose quickly | Rich in nutrients |
| Coffee Grounds | Adds nitrogen | Great for rose plants |
| Tea Leaves | Adds nitrogen | Helps balance compost |
| Meat and Dairy | Avoid | Attracts pests, causes odors |
| Large Scraps | Chop into smaller pieces | Speeds decomposition |
Balancing Greens and Browns in Compost
Because composting depends on microbial activity, you need to balance greens and browns to keep your pile healthy and odor-free.
Greens are nitrogen-rich materials like kitchen scraps and coffee grounds, while browns are carbon-rich materials such as dry leaves and cardboard. Aim for a ratio of 2-4 parts browns to 1 part greens to optimize decomposition.
Here’s how you can maintain that balance:
- Add fresh greens and dry browns in layers for even mixing.
- Monitor your compost pile for smells—too many greens cause bad odors.
- Include diverse organic materials to enrich nutrient content.
- Turn the compost regularly to mix greens and browns for efficient decomposition.
Balancing these organic materials guarantees your compost breaks down quickly and stays healthy.
Maintaining Moisture and Aeration
Keeping the right balance of greens and browns sets the stage, but you also need to manage moisture and airflow to keep your compost healthy. Check moisture levels regularly—your pile should feel like a wrung-out sponge. If it’s too wet, add carbon-rich materials to absorb excess moisture; if it’s too dry, add nitrogen-rich materials. Turn the pile every 2-3 weeks to introduce oxygen, maintaining an aerobic environment crucial for the decomposition process. Use a compost thermometer to monitor temperatures between 110-160°F, ensuring microbial activity stays ideal. Maintaining a balanced carbon-to-nitrogen ratio supports efficient breakdown and prevents slowdowns.
| Condition | Solution |
|---|---|
| Too dry | Add nitrogen-rich materials |
| Too wet | Add carbon-rich materials |
| Poor aeration | Turn the pile regularly |
| Low temperature | Check moisture and aeration |
Managing Compost Pests and Odors
If pests and odors start invading your compost pile, you can take simple steps to keep them under control.
Effective managing compost pests and odors includes:
Effective compost pest and odor control involves proper layering, aeration, moisture management, and using covered bins.
- Cover food scraps with brown materials like dry browns to mask odors and keep pests away.
- Aerate the pile regularly by turning it, which disrupts pests’ nesting and speeds decomposition.
- Maintain proper moisture levels; compost should feel like a wrung-out sponge to avoid excess moisture that causes odors and attracts pests.
- Use covered compost bins to limit pest access while retaining heat and moisture for ideal breakdown.
If odors persist, identify their source: a rotten egg smell means excess moisture, while ammonia signals a lack of brown materials—add dry browns or aerate the pile accordingly.
Knowing When Compost Is Ready to Use
When your compost turns dark brown, crumbly, and smells earthy, you’ll know it’s ready to use. Inside your composting bin, the temperature should have cooled to ambient levels, signaling that microbial activity has slowed.
Finished compost has a uniform texture without recognizable food scraps or large materials. To double-check, sift the compost through a screen: if it passes through easily, it’s ready to use. Any leftover chunks can be returned to the composting bin for further breakdown.
The process usually takes 2 to 6 months, depending on factors like temperature, moisture, and the materials layered in your compost. Once your compost reaches this stage, it becomes a valuable soil amendment, enriching your garden with nutrients and improving soil health.
Using Finished Compost in Your Garden
Once your compost has matured into a dark brown, crumbly material with an earthy smell, it’s ready to benefit your garden.
You can use finished compost to improve soil and boost plant health by following these steps:
- Mix finished compost into the top few inches of garden beds to enhance soil structure and moisture retention.
- Apply compost as a top dressing around plants to supply a slow-release source of nutrients throughout the season.
- Add 1-2 inches of finished compost annually to replenish nutrients and maintain soil health.
- Encourage microbial activity by regularly incorporating compost, which helps plants resist pests and diseases.
Frequently Asked Questions
What Is the Easiest Way to Compost Food Scraps?
The easiest way to compost food scraps is to bury them directly in your garden soil, about 8-12 inches deep. You’ll let nature do the work, breaking down scraps with minimal effort and tools.
How to Compost for Beginners Step by Step?
You’ll start by gathering kitchen scraps, avoiding meat and dairy. Choose a composting method, balance greens and browns, turn the pile regularly, and keep it moist. Follow these steps, and you’ll create rich compost easily.
How to Make Compost From Kitchen Waste Step by Step?
Collect your kitchen scraps, avoid meat and dairy, then layer them with brown materials in a compost bin. Turn the pile regularly, keep it moist, and in a few months, you’ll have nutrient-rich compost ready to use.
What Are the 7 Steps in Composting?
Imagine turning scraps into rich soil magic! You’ll collect, choose method, layer greens and browns, keep moisture just right, aerate regularly, monitor temperature, and harvest nutrient-packed compost for your garden’s vibrant growth.
Final Thoughts
Composting your kitchen scraps not only reduces waste but also enriches your garden soil naturally. Did you know that food scraps make up about 30% of household waste? By composting, you’re cutting down on landfill waste and creating nutrient-rich soil for your plants. Just remember to balance your greens and browns, keep your pile moist, and turn it regularly. Soon enough, you’ll have rich compost ready to boost your garden’s health!