Growing hostas is like painting with shades of green—each variety adds texture and depth to your garden canvas. You’ll want to master the basics, from picking the right spot to tackling pests, to keep your hostas thriving. There’s more to these shade-loving perennials than meets the eye, and understanding their needs can transform your outdoor space in ways you might not expect. Ready to get started?
Types of Hostas and Their Unique Characteristics
Although hostas come in over 2,000 varieties, you can easily choose the right one by focusing on their size categories—from miniature to giant—and unique traits like leaf color, fragrance, and pest resistance.
With over 2,000 hosta varieties, focus on size and unique traits to find your perfect shade garden match.
For instance, if you want plants with striking blue-green leaves, consider varieties like ‘Blue Mouse Ears’ or ‘Hadspen Blue’ that bring cool tones to your shade gardens.
Large hostas such as ‘Big Daddy’ offer slug-resistant foliage, perfect for humid areas.
If fragrant flowers are a priority, varieties like ‘Fragrant Bouquet’ produce tall, aromatic blooms that brighten shady spaces.
Each variety’s unique characteristics help you tailor your garden’s look and care needs, whether you prefer compact or expansive foliage that thrives in low light.
Selecting the Ideal Location for Planting Hostas
When you choose a spot for your hostas, aim for partial shade or dappled sunlight to protect their leaves from burning. Hostas thrive in well-draining soil rich in organic matter, guaranteeing moisture without waterlogging. Avoid heavy clay soil, as it hinders drainage and can cause root rot. Full shade suits some varieties but morning sun with afternoon shade is ideal. Remember to space plants according to their mature size to avoid overcrowding and promote healthy growth.
| Factor | Recommendation |
|---|---|
| Light | Partial shade or dappled sun |
| Soil | Well-draining, rich in organic matter |
| Spacing | 3-5 ft for large, closer for small |
| Drainage holes | Ascertain planting area drains well |
Step-by-Step Guide to Planting Hostas Successfully

After choosing the perfect spot for your hostas, it’s time to focus on planting them correctly. Planting hostas in early spring guarantees the soil is workable and not frozen, giving roots a great start.
Follow these steps for success:
- Prepare well-draining soil enriched with composted organic matter. Dig holes twice as wide and deep as the root ball, spacing plants based on their mature size to allow room for growth.
- Place the hosta in the hole, making sure the top of the root ball is level with the soil surface. Fill in soil gently, keeping it moist but not waterlogged.
- Water hostas thoroughly after planting to settle the soil and maintain consistent moisture. Position them in partial shade to protect leaves and promote healthy growth.
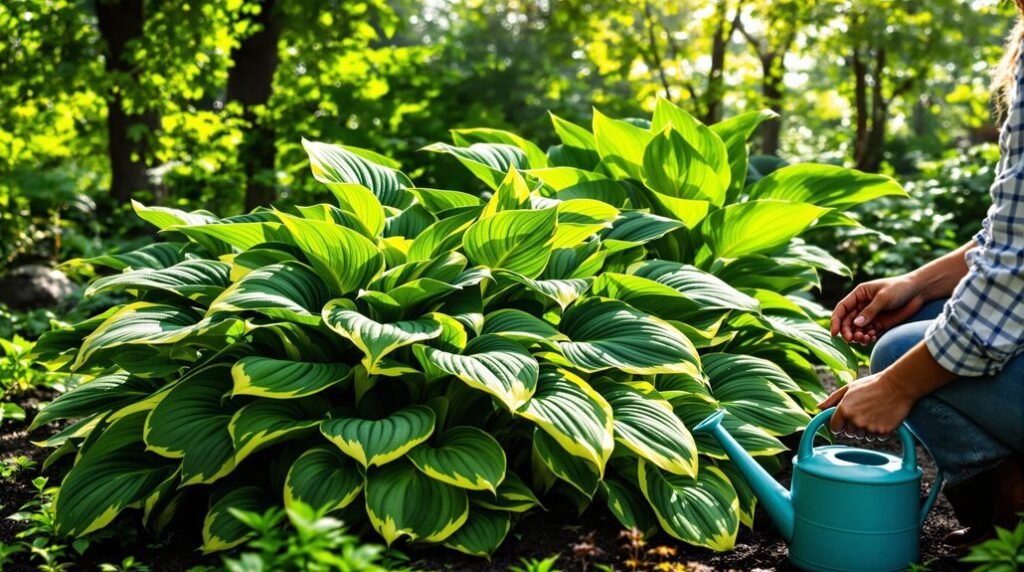
Essential Watering and Fertilization Practices
To keep your hostas thriving, you’ll need to provide consistent moisture without overwatering, as soggy soil can lead to root rot.
Water newly planted hostas bi-weekly, and established plants weekly, especially during hot weather. Focus on deep watering to encourage deep root development, which helps them tolerate dry spells. Confirm your soil is well-drained to maintain the right moisture balance.
Deep water hostas weekly, bi-weekly if new, ensuring well-drained soil for healthy roots and drought tolerance.
For fertilization, apply a balanced slow-release fertilizer in early spring to support growth, but avoid feeding after July to prevent frost damage.
Adding compost annually improves soil health and drainage, reducing the need for chemical fertilizers.
Pruning Techniques to Maintain Healthy Hostas
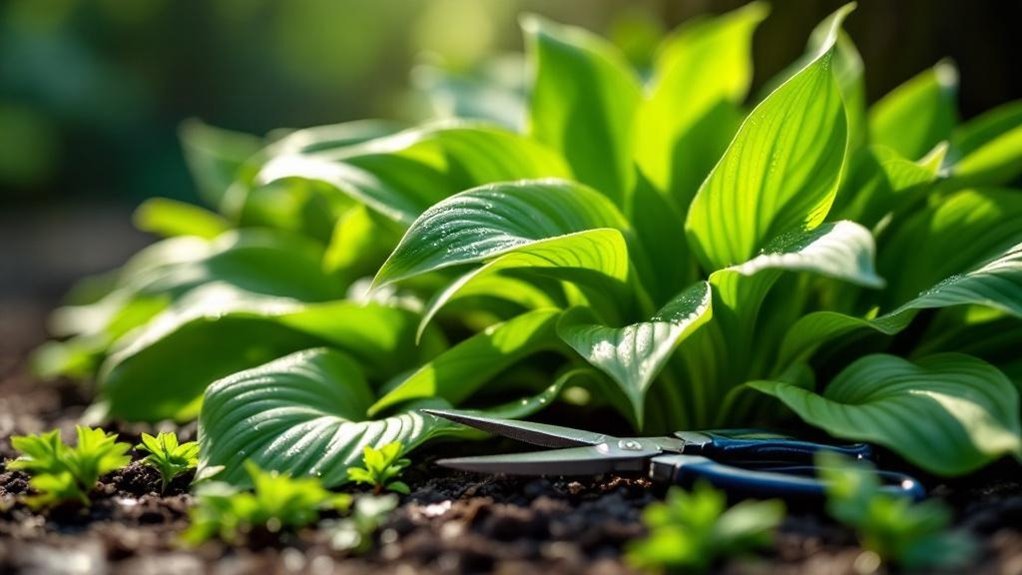
Proper pruning keeps your hostas healthy and looking their best throughout the growing season. To maintain healthy growth, follow these crucial pruning techniques:
- Remove yellowing or damaged foliage as soon as you notice it, which helps prevent pests and slug damage.
- Cut back spent flower stalks after blooming to encourage fresh growth without compromising your hostas’ lush leaves.
- In late fall, after the first hard freeze, cut back all dead or wilted foliage to the ground to reduce pests and disease risks during dormancy.
Always sanitize your pruning tools before and after use to avoid spreading diseases.
Regularly removing affected leaves keeps your hostas tidy and thriving, ensuring they stay vibrant season after season.
Managing Common Pests and Diseases Affecting Hostas
Hostas face several common pests and diseases that can quickly damage their leaves and overall health.
Slugs and snails are the most frequent common pests, leaving irregular holes in foliage; you can manage them by handpicking or using bait like dishes of beer.
Deer also target hostas, so consider fencing or motion-sensitive sprinklers as deterrents.
Foliar nematodes cause browning between veins—remove affected leaves promptly to prevent spreading.
Warm, wet weather may bring anthracnose and leaf spot diseases; remove affected leaves and apply fungicides to control outbreaks.
To reduce crown rot and other diseases, maintain proper watering practices and guarantee good air circulation around your plants.
Regular monitoring is key to keeping your hostas healthy and thriving.
Preparing Hostas for Winter Dormancy
As temperatures drop in the fall, you’ll want to gradually reduce watering to encourage dormancy while keeping the soil slightly moist but not soggy.
To prepare your hostas for winter, follow these steps:
- Cut back foliage to ground level after the first hard freeze. This helps prevent pests and diseases from overwintering in dead leaves.
- Mulch around the plants with shredded leaves or straw to insulate roots and protect them from temperature fluctuations.
- For potted hostas, bury containers in the ground and cover them with mulch to protect roots and maintain soil moisture during cold months.
Throughout winter, monitor soil moisture and adjust mulch as needed to guarantee your hostas survive dormancy and thrive come spring.
Combining Hostas With Companion Plants and Groundcovers
When you combine hostas with companion plants and groundcovers that share their shade and moisture needs, you create a vibrant, harmonious garden space.
Pair hostas with spring bloomers like hellebores and bleeding hearts to add early color contrast to their lush foliage. In summer, astilbe and tiarella bring vibrant flowers and texture, enhancing your shade garden’s visual appeal.
Add ferns, such as Japanese painted ferns, for delicate textures that balance hostas’ bold leaves. Use groundcovers like bugleweed and creeping Jenny under hostas to suppress weeds and add color and texture.
Choosing Top-Performing Hosta Varieties for Your Garden
Pairing hostas with the right companions highlights their beauty, but selecting the perfect hosta varieties will truly make your garden stand out.
When choosing hosta varieties, consider their hardiness zones—most thrive in USDA zones 3-9, adapting well to local climates.
Here are three top picks:
- Autumn Frost: A small, variegated choice perfect for containers or borders, adding delicate charm.
- Empress Wu: A bold, large hosta ideal for spacious shade gardens, making a strong statement.
- Diamond Lake: Features striking blue, slug-resistant foliage, great for shaded spots.
For whimsy, try *Wheee!*; for vibrant clumps needing morning sun, *Coast to Coast* shines.
Choose wisely to guarantee your hostas flourish through autumn frost and beyond.
Frequently Asked Questions
What Is the Secret to Growing Hostas?
The secret to growing hostas is giving them well-drained, rich soil with consistent moisture, planting in the right season, spacing properly, watering deeply but infrequently, fertilizing early, and protecting from pests like slugs and deer.
What Not to Plant Next to Hostas?
Don’t dare to dally with domineering plants like mint, bamboo, or deep-rooted trees next to hostas. Avoid sun-loving species and dry-soil dwellers; they’ll steal space, shade, and sustenance, stunting your shade-loving hostas’ growth.
What Does Epsom Salt Do for Hostas?
You’ll find Epsom salt boosts your hostas by providing magnesium, improving root growth, nutrient uptake, and leaf color. Just dissolve a tablespoon per gallon of water and apply every 4-6 weeks for best results.
Should I Cut the Dead Flowers off My Hostas?
You should cut dead flowers off your hostas after they fade. Doing this encourages new growth, keeps your plant looking tidy, and prevents energy waste on seeds. Use clean, sharp shears to avoid damage.
Final Thoughts
With your newfound hosta expertise, you’re basically a gardening superhero—ready to conquer slugs, tame wild roots, and create a leafy paradise that’ll make neighbors jealous for decades! Just imagine your garden bursting with vibrant, lush hostas so perfect they practically glow. Follow these simple steps, and you’ll turn any shady spot into a magical oasis. Trust me, once you start, you’ll wonder how you ever lived without these stunning plants stealing the show!