You might have heard that you can easily test your garden soil’s pH using just household items. Is this really a reliable way to understand your soil’s acidity or alkalinity? Before you decide on amendments or fertilizers, it’s important to get a clear picture of your soil’s condition. There’s a straightforward approach you can try at home that doesn’t require expensive tools or lab visits—keep this in mind as you prepare to dig in.
Importance of Soil Ph for Garden Health
Because soil pH directly affects nutrient availability, you need to keep it within the ideal range of 6.2 to 6.8 for most garden plants to thrive.
When pH drops below 5.5, nitrogen becomes limited, while levels above 8 restrict phosphorus and iron, causing nutrient deficiencies.
Regular soil pH testing, preferably every 2 to 5 years, helps you spot soil acidity issues early, such as yellowing leaves or moss growth.
Maintaining this balance supports healthy soil by promoting microbial activity crucial for nutrient cycling.
If your soil’s pH isn’t right, you can apply amendments to correct it and guarantee your plants get what they need to grow strong.
Monitoring and managing soil pH is key to sustaining a vibrant, productive garden environment.
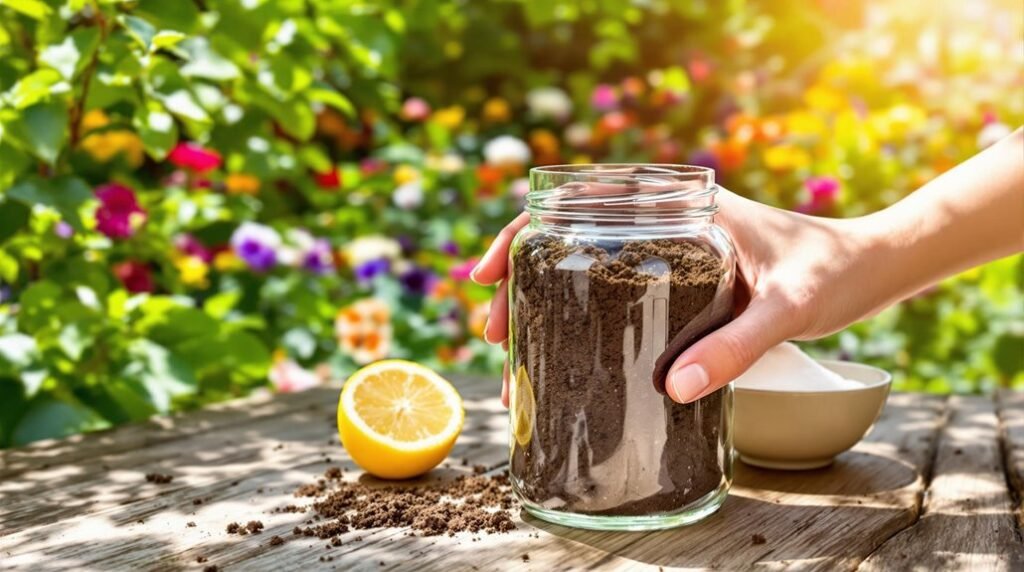
Collecting Soil Samples for Testing
Maintaining the right soil pH starts with getting an accurate reading, which means collecting soil samples properly. To guarantee an accurate assessment when testing your soil’s pH, you’ll want to gather at least 2 cups of soil from several spots in your garden.
Dig down 4 to 6 inches to avoid organic matter on the surface and capture the true soil texture affecting your plants. Remove rocks and debris to create a clean sample.
- Mix soil samples from multiple locations for uniformity
- Break up clumps to reflect consistent soil texture
- Store samples in a dry, labeled container
- Note collection date and area for tracking soil amendments
Following these steps helps you collect soil that truly represents your garden’s condition.
Testing Soil Ph Using Baking Soda and Vinegar
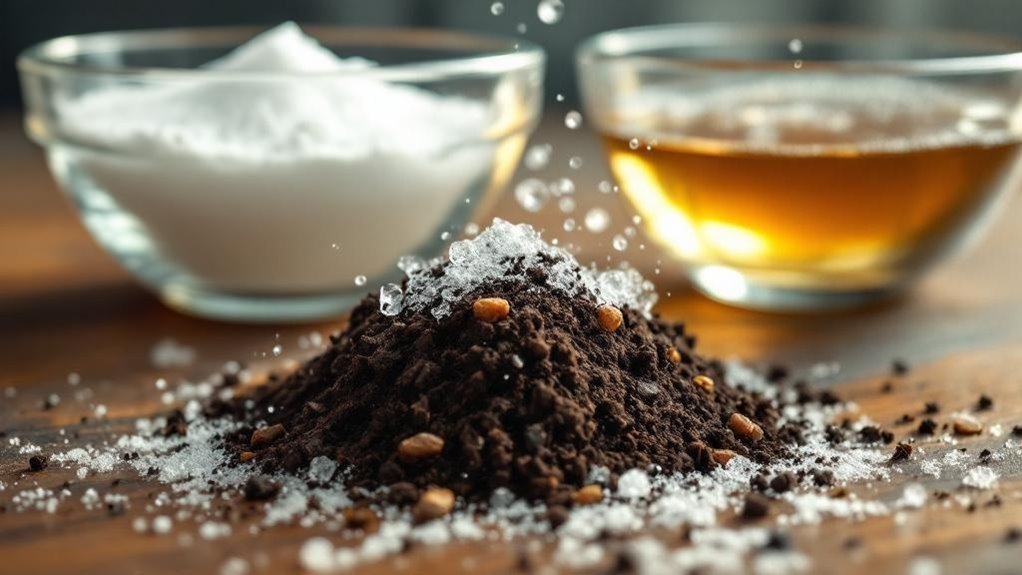
You can quickly get a basic idea of your garden soil’s pH using just two common household ingredients: baking soda and vinegar.
To test your garden soil, mix one soil sample with distilled water in two containers. Add vinegar to one; if it fizzes, you have alkaline soil.
Use the baking soda method by adding baking soda to the other container—if it fizzes, your soil is acidic. Minimal reaction means neutral pH.
This DIY soil test offers a simple way to check the pH level of acidity or alkalinity at home without expensive tools.
While vinegar and baking soda provide a quick estimate, consider using professional test kits for more accurate and detailed soil analysis to guarantee the best care for your garden.
Using Ph Test Strips for Soil Analysis
When you want a quick and affordable way to check your garden soil’s pH, pH test strips offer a practical solution. Simply mix a soil sample with distilled water, dip a strip into the mixture, and watch the color change.
In about a minute, you can compare the strip to the provided color chart to see if your soil is acidic, neutral, or alkaline. While not as precise as a soil testing lab or a soil pH meter, these strips help you test your soil pH easily at home and identify potential nutrient deficiency that could impact plant growth.
- Collect soil from multiple garden spots
- Mix soil with distilled water in a clean container
- Dip pH test strips and wait for color change
- Match colors to chart to determine soil pH level
How to Use Analog and Digital Ph Meters
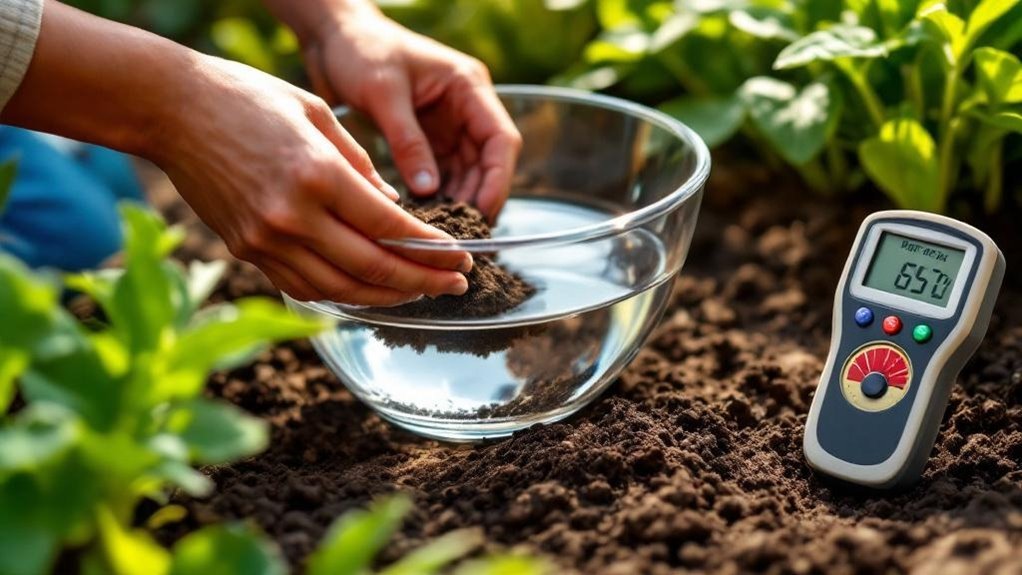
Although pH test strips provide a quick estimate, using analog or digital pH meters gives you more accurate insights into your soil’s acidity or alkalinity.
With analog pH meters, simply moisten the soil, insert the probe into the soil, and wait for the reading to stabilize. These meters are affordable and straightforward but may be less precise.
Digital pH meters offer faster, often instant readings and require calibration for an accurate pH reading. Both testing methods recommend slightly moistening your soil to improve conductivity and test results.
Investing in a quality digital meter can provide broader data on soil health. For the best guidance, consult your local cooperative extension, which often supports soil testing and can help interpret your results effectively.
Preparing Soil Samples for Accurate Testing
Accurate pH readings depend on the quality of the soil sample you prepare. When preparing soil samples for accurate testing, focus on collecting a representative soil sample through proper soil sample collection.
Dig 4 to 6 inches deep and gather at least 2 cups from various spots in your garden. Remove rocks, sticks, and debris to guarantee the soil is clean and uniform. Break up clumps to create a fine, homogeneous mix, which is crucial for consistent soil pH readings.
Store your soil sample in a clean, dry container to avoid contamination before soil testing. For best results, follow these tips during preparing soil samples:
- Collect soil from multiple garden locations
- Remove debris for a clean and uniform sample
- Break clumps for a homogeneous mix
- Store in a dry, clean container for accurate testing
When and How Often to Test Your Soil Ph
Since soil pH directly affects nutrient availability and plant health, you’ll want to test it regularly to keep your garden thriving.
The best time to test the soil is in the fall before planting season, giving you time to adjust pH levels for ideal nutrient availability. Conducting a soil pH test every 2 to 5 years helps monitor changes and maintain healthy soil conditions.
You should also consider regular testing if you add large amounts of organic matter or fertilizers, as these can shift pH levels. Checking the health of your plants and noting weed growth can signal when to retest.
Spring testing can catch winter fluctuations, ensuring your soil pH supports early planting. Staying on top of soil pH keeps your garden balanced and productive.
Interpreting Soil Ph Test Results
Interpreting your soil pH test results helps you understand how acidic or alkaline your garden soil is, which directly impacts plant health and nutrient availability.
When using testing kits or natural methods with baking soda and vinegar, look closely at the pH value to decide on necessary amendments. Here’s what to watch for:
- Bubbling with vinegar means alkaline soil (pH above 7).
- Bubbling with baking soda indicates acidic soil (pH below 7).
- No reaction suggests a neutral pH around 7, suitable for most plants.
- Yellowing leaves or poor growth often point to acidic soil affecting plant health.
Regularly checking and interpreting soil pH guarantees you maintain ideal growing conditions by adjusting soil chemistry as needed.
Natural Ways to Adjust Soil Ph
When you want to create ideal growing conditions, adjusting your soil pH naturally is a smart approach. First, use a pH test to determine your soil’s current acidity or alkalinity.
To raise soil pH and make it more alkaline, apply garden lime or wood ashes as natural amendments in your garden beds. Conversely, to lower soil pH and increase acidity, incorporate elemental sulfur or organic materials like pine needles and peat moss.
Raise soil pH with lime or ashes; lower it using sulfur, pine needles, or peat moss for natural balance.
These organic amendments gradually shift the pH, benefiting acid-loving plants. After applying any amendments, always test your soil pH again to monitor changes and guarantee you’re moving toward the ideal level.
Regular testing helps you fine-tune your approach, keeping your garden beds healthy without relying on harsh chemicals.
Signs Your Garden Soil May Need Ph Adjustment
How can you tell if your garden soil needs a pH adjustment?
Plants prefer a pH range that allows nutrients in the soil to be available for healthy growth. If the soil is too acidic, nutrients lock up, and your plants struggle.
The first step is to watch for these signs, which serve as a good indicator that pH is high or very low:
- Yellowing grass despite regular watering and fertilizing
- Moss and acid-loving weeds like dandelions spreading in your soil
- Grass that doesn’t respond to fertilizer treatments
- Soil lacking earthworms, showing poor microbial activity
If you notice these symptoms, seeking expert advice and testing your soil pH will help you restore balance for healthier plants.
Frequently Asked Questions
How Can I Test My Soil Ph Without a Kit?
You can test soil pH without a kit by mixing soil with distilled water, then adding baking soda or vinegar. Fizzing shows acidity or alkalinity, while no reaction means neutral. It’s a simple, natural way to check your soil.
How to Make a Homemade Ph Tester?
You won’t believe how simple it is to make a homemade pH tester! Just mix soil with distilled water, then add baking soda or vinegar. Watch for fizz—it’s like a tiny science magic show you control!
How Do I Check the Ph in My Garden Soil?
You’ll collect soil samples from 4-6 inches deep, then mix them with water. Add vinegar or baking soda; fizzing means alkaline or acidic soil. For accuracy, use pH strips or a meter with a soil slurry.
Does Baking Soda Raise the Ph Level in Soil?
Imagine your soil throwing a fizzy party when you add baking soda—that’s because it raises pH! You’ll see bubbling if the soil’s acidic, and yes, baking soda can boost alkalinity, but don’t overdo it!
Final Thoughts
Testing your garden soil’s pH naturally at home is like tuning a musical instrument—getting it just right makes your plants sing with health. By using simple ingredients like baking soda and vinegar, you can quickly understand if your soil leans acidic, alkaline, or neutral. Regular checks help you stay ahead, so your garden flourishes season after season. Remember, a balanced pH is the secret ingredient to growing vibrant, thriving plants.