Garlic is a versatile and easy-to-grow plant that can add flavor to a variety of dishes while also providing several health benefits. One way to enjoy a fresh supply of garlic is by planting garlic cloves in your garden. Whether you are an experienced gardener or a beginner, following a step-by-step guide can ensure a successful garlic harvest.
Step 1: Selecting Garlic Cloves
When selecting garlic cloves for planting, it is important to choose large, healthy cloves from organic sources. Avoid using garlic from the grocery store as it may have been treated to prevent sprouting. Separate the cloves from the bulb right before planting to ensure they remain viable.
Step 2: Choosing a Planting Site
Garlic thrives in well-drained soil and full sun. Choose a location in your garden that receives at least six to eight hours of sunlight per day. The soil should be rich in organic matter and have a pH level between 6.0 and 7.0. Avoid planting garlic in areas where water puddles after rain to prevent rotting.
Step 3: Preparing the Soil
Before planting garlic cloves, prepare the soil by loosening it to a depth of at least 8 inches. Remove any weeds or debris from the planting area. Incorporate compost or aged manure into the soil to improve its fertility and drainage. Avoid using fresh manure as it can burn the garlic roots.
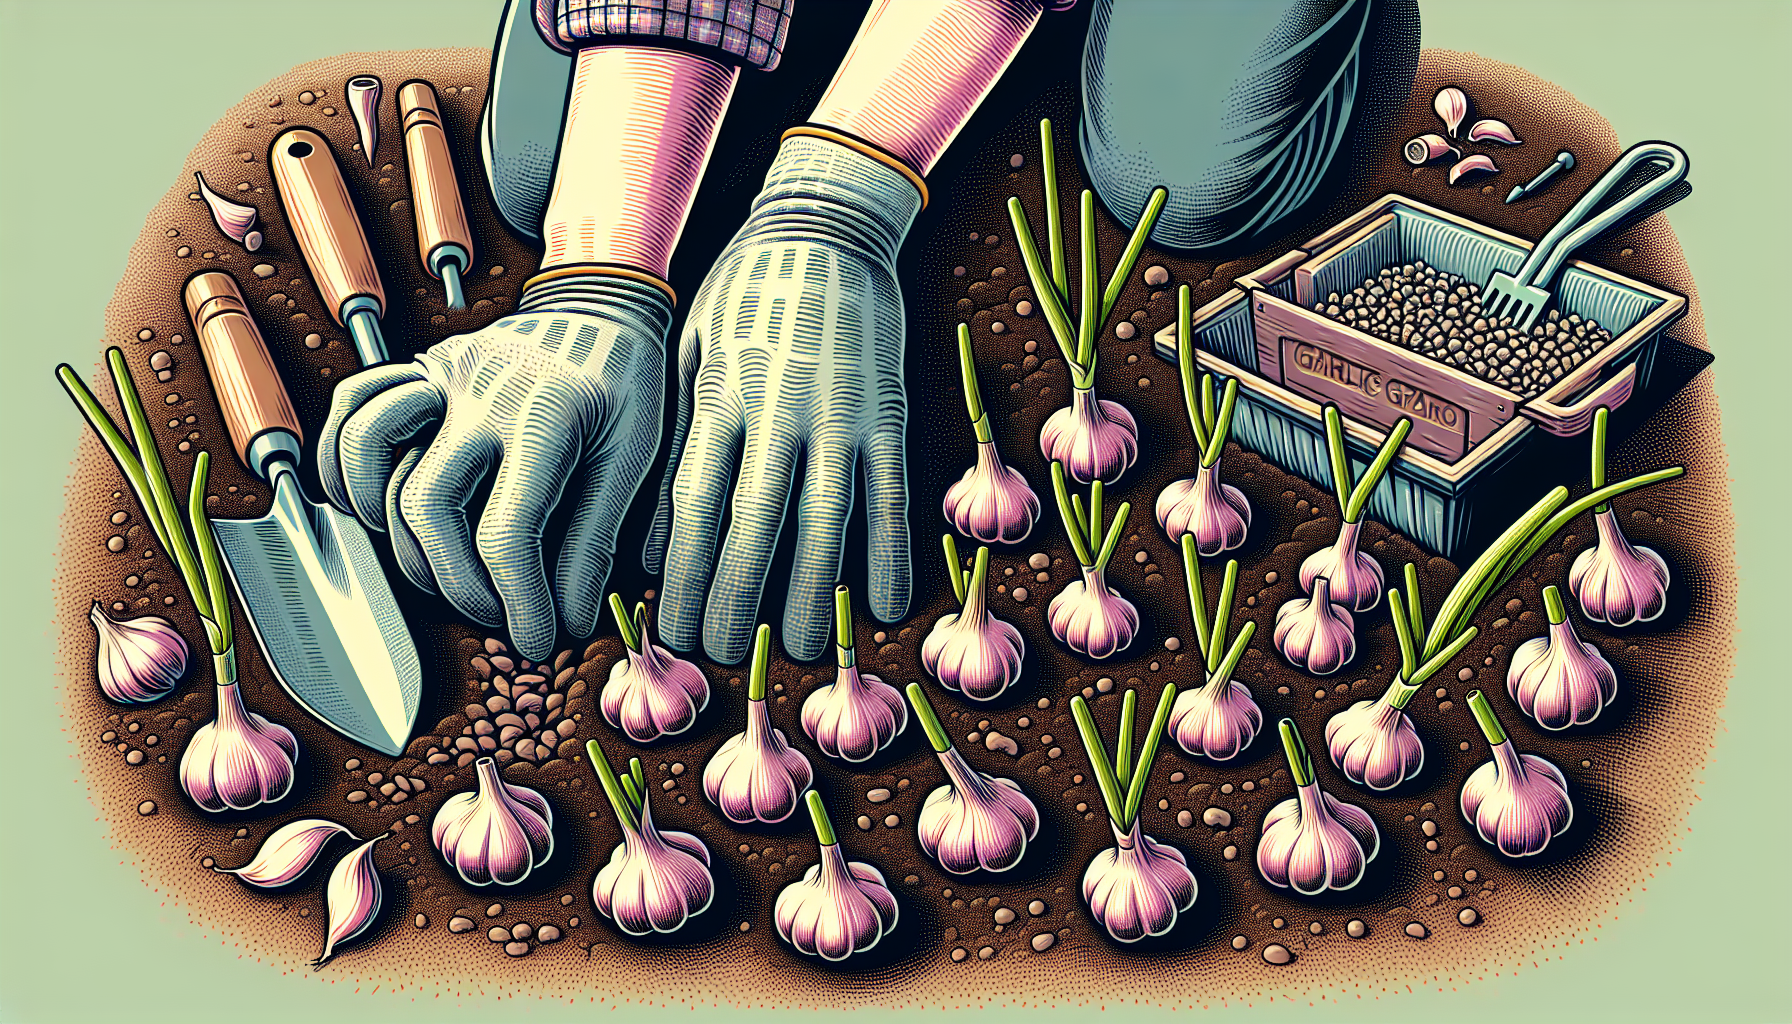
Step 4: Planting Garlic Cloves
Plant garlic cloves with the pointed end facing up and the flat end down. Space the cloves 4-6 inches apart in rows that are 10-12 inches apart. Plant the cloves about 2 inches deep in the soil, pressing them gently into place. Cover the cloves with soil and water thoroughly.
Step 5: Mulching and Watering
After planting garlic cloves, apply a layer of organic mulch such as straw or shredded leaves to help retain soil moisture and suppress weed growth. Water the garlic regularly, keeping the soil consistently moist but not waterlogged. Reduce watering as the garlic approaches maturity to prevent rotting.
Step 6: Caring for Garlic Plants
Garlic requires minimal care once planted. Remove any weeds that emerge to reduce competition for nutrients. Fertilize the garlic plants with a balanced fertilizer in early spring and again after the first month of growth. Monitor the plants for signs of pests or diseases and take appropriate action if necessary.
Step 7: Harvesting Garlic
Garlic is typically ready for harvest when the lower leaves turn yellow and start to wither. Carefully dig up the garlic bulbs using a garden fork, being careful not to damage the bulbs. Allow the harvested garlic to cure in a warm, dry place for 2-3 weeks before trimming the roots and storing them in a cool, dry location.
By following this step-by-step guide to planting garlic cloves, you can enjoy a bountiful harvest of fresh garlic to use in your favorite recipes. With relatively little effort, you can grow this flavorful herb in your own backyard and savor the rewards of your gardening endeavors.